Protecting Your Home Before the Autumn Storms and Winter Freezes Hit
Mid-fall is officially here, and getting your most common homeowner questions answered is the smartest way to protect your property before the weather turns hostile. In our years of serving York SC, our team at Pure Flow Plumbing has seen firsthand the unique dual threat homeowners face during this specific time of year: heavy autumn precipitation driven by coastal storm remnants, followed closely by sudden, sharp temperature drops. Waiting until you actually see frost on the windows is simply too late to start preparing your property. Determining the correct timing and methods for winterizing outdoor hose bibs and exposed plumbing before that first winter freeze is a critical responsibility for any property owner.
Proactive fall maintenance prevents catastrophic water damage and stops minor vulnerabilities from turning into major emergencies. Whether we are helping a client deal with a basement that takes on water during heavy October downpours or exterior faucets that are completely exposed to the elements, we know that taking action now provides immense reassurance. The goal of this guide is to walk you through the essential steps of testing your drainage equipment, prepping your exterior fixtures, and knowing exactly when to call in our experts to verify your aging systems.
To ensure your home is fully protected from rising water, exploring professional sump pump installation and repair services is a highly recommended first step.
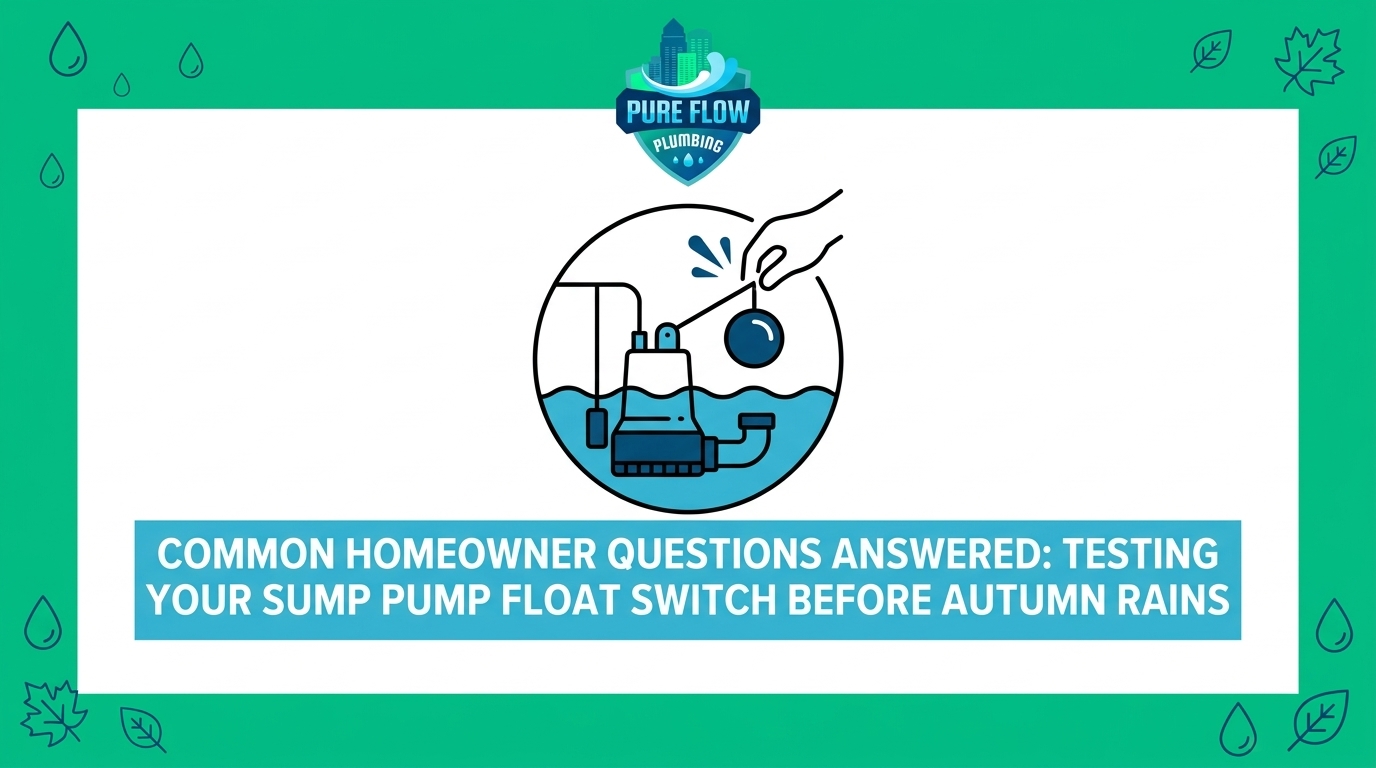
How to Safely Test Your Sump Pump Float Switch
Your sump pump acts as the primary defense against ground flooding, and the float switch is its trigger mechanism. As water enters the sump pit, the float rises. Once it reaches a specific height, it signals the pump’s motor to turn on and expel the water away from your foundation. Testing this mechanism during the mid-fall pre-winter freeze window ensures it will activate when you actually need it—a preventative measure we strongly advocate for on every service call.
For a deeper dive into how these systems handle severe weather, reading up on Understanding Your Sump Pump: A Homeowner’s Defense Against Summer Storms provides excellent background knowledge. To perform a safe, effective test on your equipment right now, follow these exact steps:
- Locate the pit and verify power: Find your sump pit in the basement or crawlspace. Check that the pump is securely plugged into a working Ground Fault Circuit Interrupter (GFCI) outlet. Press the “test” and “reset” buttons on the outlet to ensure the electrical connection is active and safe.
- Clear the area of debris: Before testing, look inside the pit with a flashlight. Remove any dirt, gravel, or debris that may have accumulated, as these can easily jam the float switch or clog the intake screen during operation.
- Introduce water slowly: Fill a five-gallon bucket with water. Slowly pour the water directly into the sump pit. Do not dump it all at once; pour at a steady pace to simulate heavy rainfall entering the basin.
- Observe the activation cycle: Watch the float switch carefully. As the water level rises, the float should lift smoothly. Once it hits the activation threshold, the pump should turn on automatically.
- Monitor the drainage and shutoff: Listen to the motor and watch the water level drop. The pump should quickly drain the pit and shut itself off completely once the float returns to its resting position. The entire cycle should be smooth and relatively quiet.
A critical warning: Never attempt to test the pump by lifting the float switch manually while the pit is dry. Running a sump pump without water can quickly burn out the motor and permanently damage the internal mechanisms.
Recognizing When a Sump Pump Needs Professional Attention
Even with regular testing, mechanical devices do not last forever. A standard residential sump pump generally has a functional lifespan of 7 to 10 years. A pattern we see often during severe autumn storms in York SC is flooded basements caused by aging pumps that homeowners assumed were fine just because they passed a basic bucket test. Relying on an aging or struggling pump is a significant risk that often leads to extensive property damage.
While conducting your DIY test, pay close attention to how the machine behaves. There are several clear indicators that professional intervention is required:
- Unusual grinding or rattling noises: A healthy pump operates with a steady hum. If you hear grinding, rattling, or screeching, the motor bearings are likely failing, or the impeller is damaged.
- Failure to activate: If the water level rises above the float switch and the pump does not turn on, the switch itself may be defective, or there is a deeper electrical fault within the unit.
- Slow or sluggish drainage: If the pump activates but takes an unusually long time to empty the pit, the intake screen might be clogged, the discharge pipe could be obstructed, or the motor is simply losing its power.
- Continuous running: If the pump drains the water but refuses to shut off, the switch is likely stuck in the “on” position, which will eventually cause the motor to burn out from exhaustion.
Having a licensed expert assess the system guarantees performance when you need it most. Pure Flow Plumbing’s commitment to on-time service and client satisfaction means you can get your aging equipment verified, repaired, or replaced efficiently, ensuring a reliable system is in place long before an emergency strikes.
Best Practices for Winterizing Outdoor Hose Bibs
The second major seasonal plumbing concern our team tackles is preparing exterior faucets for freezing temperatures. When the thermometer drops, any water left inside exposed pipes or fixtures becomes a serious liability. Understanding the mechanics of freezing pipes highlights exactly why we consider this mid-fall pre-winter freeze maintenance non-negotiable.
The Problem: Exterior hose bibs and the pipes connected to them are exposed directly to the outside air. When temperatures plummet overnight, the water resting inside these fixtures freezes rapidly.
The Cause: The physics of freezing water are highly destructive. As water turns to ice, it expands by approximately 9%. This expansion creates immense, unavoidable pressure inside the enclosed space of a pipe. It does not matter if your pipes are made of copper, PVC, or PEX; the pressure from expanding ice is strong enough to rupture the material, leading to massive leaks once the ice thaws.
The Solution: Proper winterization removes the water and insulates the fixture. Homeowners should follow these safe, effective steps:
- Disconnect all garden hoses: This is the single most important step. A connected hose traps water inside the bib. Even if the faucet is turned off, the trapped water will freeze, expand backward into the house, and burst the pipe behind the wall. Always disconnect, drain, and store your hoses indoors.
- Drain the fixture: If you have an interior shut-off valve for your exterior faucets, turn it off. Then, go outside and open the hose bib to let any remaining water drip out. Leave the outside valve open throughout the winter to allow any residual moisture room to expand.
- Apply insulated covers: For standard exterior bibs, purchase and install foam or hard plastic insulated faucet covers. These are inexpensive, easy to attach, and provide a vital layer of thermal protection against freezing wind.
- Locate the main water shut-off: As a preventative safety measure, ensure every adult in the household knows exactly where the main water shut-off valve is located. If a pipe does burst during a freeze, shutting off the main water supply immediately is the only way to stop catastrophic flooding.
Knowing Where to Draw the Line: DIY vs. Professional Plumbing Repairs
Deciding which winterization tasks are safe for a homeowner to handle and which require a licensed professional is the key to protecting your property safely. While we always encourage basic preventative maintenance, our plumbers frequently have to fix the aftermath of complex DIY pipe work gone wrong, which often leads to voided warranties, code violations, and severe water damage.
The table below clearly delineates safe DIY tasks from those that require an expert:
| Safe DIY Maintenance (Homeowner) | Professional Intervention Required (Licensed Plumber) |
|---|---|
| Disconnecting, draining, and storing garden hoses. | Installing or replacing frost-free hose bibs. |
| Installing standard foam or plastic insulated faucet covers. | Repairing hidden leaks inside walls or crawlspaces. |
| Performing a basic bucket water test on the sump pump float switch. | Rerouting exposed or vulnerable water supply pipes. |
| Clearing basic debris from the basement sump pit. | Replacing a failing sump pump motor or faulty wiring. |
| Locating and testing the main water shut-off valve. | Fixing pre-existing pipe damage found during fall inspections. |
The dangers of attempting DIY pipe repairs cannot be overstated. Applying temporary patches, using improper soldering techniques on copper pipes, or using incorrect fittings on PEX lines leaves your plumbing highly vulnerable to the immense pressure of winter freezes. If you discover any pre-existing damage, corrosion, or slow leaks during your fall inspections in York SC, prompt professional pipe repair is the only secure solution we recommend.

Securing Your Home’s Main Water and Drainage Systems
While exterior faucets and basement sump pumps demand immediate attention during the mid-fall pre-winter freeze, broadening your seasonal prep to include the entire drainage and main water supply network is equally critical. The transition from autumn to winter places immense stress on underground infrastructure.
The Role of Clear Drains in Flood Prevention
During the fall, shedding leaves, pine needles, and yard debris inevitably find their way into outdoor drains, gutters, and eventually, the deeper sewer lines. When heavy autumn rains arrive, these debris clogs exacerbate the impact of the precipitation, causing storm runoff to back up toward your foundation rather than flowing away from it.
Many homeowners attempt to clear slow drains using harsh chemical liquids. However, we recommend professional drain cleaning over chemical DIY solutions every time. Our team frequently sees the corrosive damage these chemicals cause to aging pipe materials, and they often fail to remove solid obstructions like tree roots or compacted leaves. A professional uses specialized mechanical augers and hydro-jetting equipment to clear the entire diameter of the pipe safely, ensuring your drainage system can handle maximum water volume during a storm.
Protecting the Main Water Line
Your main water line is buried underground, but it is not immune to seasonal shifts. As the ground temperature drops and the soil begins to freeze and heave, immense pressure is placed on the buried pipes. If your main line is already compromised by minor cracks or root intrusion, the shifting winter soil can cause the pipe to break entirely.
In our experience, recognizing the warning signs of a compromised line is essential. If you notice a sudden, unexplained reduction in water pressure throughout the entire house, or if you spot unusually lush, green patches of grass in your yard during the dormant fall season, you likely have an underground leak. The value of proactive water line repair before the soil freezes solid cannot be overstated. Excavating and repairing a main line in frozen ground is significantly more difficult and disruptive than handling it during the mild autumn months.
Frequently Asked Homeowner Questions About Fall Plumbing Prep
Before diving into these answers, if you suspect your underground pipes are already compromised, prompt water line repair is essential to prevent a complete loss of service during the winter. Below are the most common questions property owners in York SC ask our plumbers when preparing for the changing seasons.
How do I test my sump pump float switch?
To safely test your sump pump float switch, ensure the pump has power, then slowly pour a five-gallon bucket of water into the sump pit. Watch the float rise; the pump should automatically activate, drain the water rapidly, and shut off smoothly without grinding noises.
When should I cover my outside faucets for winter?
You should prepare your outside faucets well before the first overnight freeze is forecasted. Follow these steps:
- Disconnect, drain, and store all garden hoses indoors.
- Turn off the interior shut-off valve for exterior plumbing, if your home has one.
- Open the outside faucet to allow residual water to drain out completely.
- Install an insulated foam or hard plastic cover securely over the fixture.
At what temperature do outside pipes freeze?
Pipes generally begin to freeze when the outside air temperature drops to 20 degrees Fahrenheit or lower for several consecutive hours. However, exposed exterior pipes, uninsulated hose bibs, and plumbing located in unheated areas like crawlspaces or exterior walls can freeze at temperatures closer to 32 degrees Fahrenheit if they are exposed to harsh wind chills.
How long does a typical basement sump pump last?
A standard residential basement sump pump typically lasts between 7 and 10 years. The exact lifespan depends heavily on how frequently the pump operates, the volume of water it moves, and how well it is maintained. If your pump is older than 7 years, having it inspected by a professional before the heavy autumn rain season is highly recommended.
What are the signs of a hidden plumbing leak before winter?
Hidden plumbing leaks often present subtle warning signs before they cause major damage. Look for unexplained increases in your monthly water bill, a persistent drop in overall water pressure, damp or discolored spots on drywall and ceilings, a persistent musty odor in basements or crawlspaces, and the sound of running water when all fixtures are turned off.
Can a homeowner install a frost-free hose bib themselves?
Installing a frost-free hose bib requires cutting into the existing water supply line, ensuring the proper downward pitch for drainage, and creating a watertight seal inside the wall cavity. Because this involves altering the main plumbing infrastructure and carries a high risk of hidden leaks if done incorrectly, it is a task that requires a licensed professional plumber.
Secure Your Plumbing Systems Before the Freezing Temperatures Arrive
Properly preparing your home for the shifting seasons requires a proactive, safety-first approach. Testing your sump pump float switch ensures your basement remains dry during heavy autumn runoff, while correctly winterizing your outdoor hose bibs prevents the immense destruction caused by frozen, bursting pipes. In our many years of plumbing service, prevention is always the most effective and least disruptive defense against seasonal water damage.
During the mid-fall pre-winter freeze window, it is crucial to recognize the limits of DIY maintenance. While disconnecting hoses and applying covers are excellent habits, you should always seek professional verification for aging systems, hidden leaks, or complex winterization tasks. Taking action now provides a clear, neutral explanation of your system’s health and unambiguous guidance on keeping your property safe. Schedule a comprehensive fall plumbing assessment with Pure Flow Plumbing today to ensure your home is fully secured before the harsh weather arrives.