
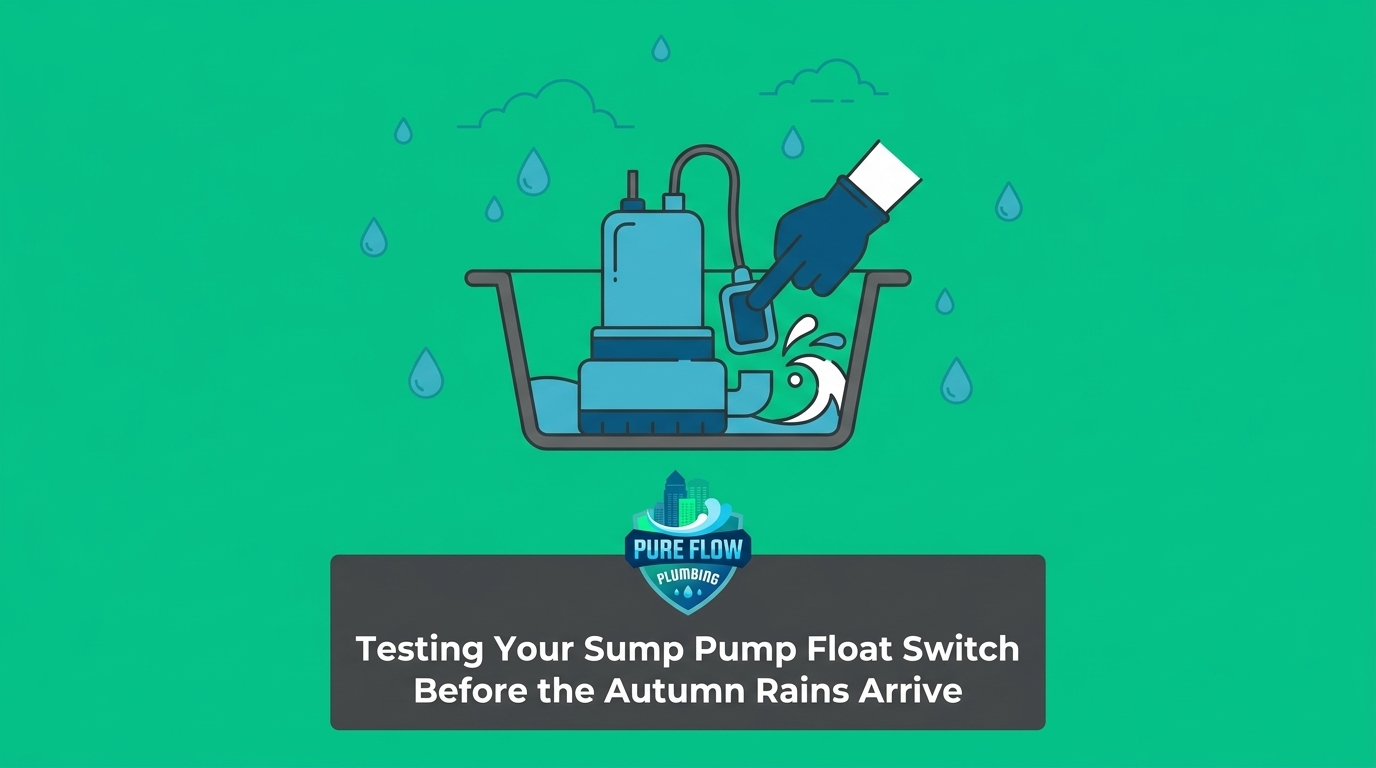
The Hidden Vulnerability in Your Crawlspace Defense
Your sump pump sits quietly in the dark for months, but that silence does not guarantee it will work when you need it most. Testing Your Sump Pump Float Switch Before the Autumn Rains Arrive is the only way to know if your home is truly protected against sudden flooding. Many homeowners fall into a false sense of security when their pump goes unused during dry spells. You assume that because the system hasn’t been overworked, it remains in perfect condition. Unfortunately, mechanical equipment behaves differently. Prolonged inactivity is often harder on your crawlspace defense system than regular, active pumping.
The primary point of failure is rarely a burned-out motor. Instead, the concrete problem lies with the mechanical components—specifically the float switch. This small, buoyant device tells the pump when to turn on and shut off. After long periods of inactivity, the switch is highly prone to seizing. You are left with a critical decision point: blindly hoping the pump works when the weather turns, or taking ten minutes to verify its operation safely. By understanding your sump pump’s defense against storms, you can shift from hoping for the best to knowing your home is secure.
The Danger of a Silent Summer
Down in many York SC crawlspaces, the environment undergoes drastic changes throughout the year. During the wet spring, the pump cycles regularly, keeping the internal mechanisms lubricated and free-moving. As the heat sets in and the ground dries out, the pump stops cycling. The water level in the pit drops, and the float switch rests in the “off” position for weeks or even months. This extended resting period allows stiffness to set into the pivot points and tethers. If that switch cannot physically rise when the water returns, your crawlspace will flood just as quickly as if you had no pump installed at all.
Why Extended Dry Spells Cause Mechanical Seizing
To understand why your system fails, you have to look at the environment inside the sump pit. During our hot, dry late-summer periods, the soil around your foundation loses its moisture. The water that normally sits in the bottom of your sump pit begins to slowly evaporate. As this water turns to vapor, it leaves behind everything else that was suspended in it—primarily minerals like calcium and magnesium.
The Anatomy of Mineral Scale
When groundwater evaporates, these residual minerals crystallize on the surfaces of your pump. They form a hard, chalky white crust known as scale. This scale attaches directly to the float switch mechanism. Because the switch is not moving up and down to break away this daily buildup, the crust thickens. The friction created by these mineral deposits acts like sandpaper on the sliding components of the switch.
- Pivot points freeze: Hinges become encrusted and lose their ability to swing freely.
- Rods become textured: Smooth sliding rods develop bumps that catch the float.
- Tethers stiffen: Rubber or plastic cords lose their flexibility as they dry out and gather mineral dust.
The Most Common Point of Failure
The float switch is the most common point of failure in the entire system due to this exact mechanical vulnerability. The heavy motor is sealed and protected, but the switch must remain exposed to the elements to read the water level. When September storms and late summer dry spells collide, the sudden influx of heavy rain fills the pit rapidly. The water pushes against the float, but the mineral scale and stiff joints hold it down. The water rises right past the switch, overflowing the pit, while the pump sits completely silent because it never received the mechanical signal to turn on.
Identifying Your Float Switch Type
Before you can test your system, you need to know exactly what kind of equipment you are looking at. Different switches react differently to dry conditions and require slight variations in how you observe them. Take a flashlight and safely look down into your sump pit to identify your specific mechanism before beginning any test or considering a new sump pump installation.
Tethered Float Switches
A tethered float switch looks like a plastic bulb floating at the end of a cord. As the water rises, the bulb floats upward. Once it tips past a certain angle, a steel ball inside the bulb rolls down, closing the electrical circuit and turning the pump on. In York SC crawlspaces, tethered switches are prone to getting pinned against the rough dirt or concrete walls of the pit. Over a dry summer, the cord itself can stiffen in a downward position, making it highly resistant to bending when the water finally returns.
Vertical Float Switches
A vertical float switch features a buoyant cylinder that slides up and down on a rigid rod. As water fills the pit, the cylinder floats straight up the rod until it hits a stopper, engaging the pump. These switches are highly susceptible to mineral scale friction. Because the tolerance between the float and the rod is tight, even a thin layer of crystallized minerals can cause the cylinder to jam in place.
| Switch Type | Mechanism | Primary Dry-Weather Risk | Visual Identification |
|---|---|---|---|
| Tethered | Floats on a flexible cord, tilting to activate. | Cord stiffens; bulb gets pinned against the pit wall. | Looks like a plastic bulb on a wire tail. |
| Vertical | Slides straight up and down a fixed rod. | Mineral scale creates friction, locking the float in place. | Looks like a cylinder threaded onto a pole. |
| Electronic | Uses internal sensors to detect water pressure/presence. | Sensors become coated in mud or mineral slime. | Small, fixed block with no moving exterior parts. |
How to Safely Test Your Float Switch (The Bucket Method)
Taking a proactive approach to your home’s plumbing empowers you to avoid catastrophic emergencies. You do not need specialized tools to verify your system is ready for heavy rain. The bucket test is a safe, effective way to mimic rising groundwater and ensure the mechanical components are moving freely. Always prioritize safety: never reach into a sump pit while the unit is plugged in, and keep water away from the electrical outlet.
- Verify the power connection: Ensure the sump pump’s power cord is securely plugged into its dedicated outlet and verify that the electrical breaker for that circuit is turned on.
- Prepare the water: Fill a standard 5-gallon bucket with clean water from a hose or sink. Slowly pour the water directly into the sump pit. Pour carefully to avoid splashing the electrical cord or the motor housing.
- Observe the mechanism: Watch the float switch carefully as the water level rises. You are looking for a smooth, continuous rise. The switch should not catch, jerk, or require the water to completely submerge it before breaking free.
- Listen for engagement: As the switch reaches its activation height, listen for a distinct click followed by the deep hum of the pump motor engaging. Visually verify that the water level actively drops as the pump pushes it out of the pit.
- Confirm the shut-off: Once the water level drops, the float switch must return to its resting position. Confirm that the pump shuts off automatically. A pump that continues to run dry will quickly overheat and destroy the motor.
Performing this test bridges the gap between September storms and late summer dry spells, ensuring the mechanical parts are loose, lubricated by the water, and ready to defend your foundation.

What to Do If the Float Switch Fails to Activate
If you pour the water in and the pit fills up but the pump remains silent, you have uncovered a failure before it could cause property damage. Interpreting the results of your bucket test helps you determine if the issue is a simple mechanical jam or a total system failure. The most common scenario is that the water rises, submerges the float, but the switch simply does not move.
Diagnosing a Seized Switch
If the switch refuses to float upward, it indicates severe scaling or a physical obstruction. To troubleshoot this safely, unplug the sump pump from the wall outlet completely. Once the power is disconnected, reach down with a broom handle or a piece of PVC pipe and gently tap the underside of the float. If it breaks free easily, mineral scale was holding it down. If it remains rigidly stuck, the pivot joint has seized entirely.
Motor Hums vs. Total Silence
Sometimes, you can safely and gently manually lift the float (while the unit is plugged in, using a dry, non-conductive wooden stick) to see if the motor hums. If you lift the switch and the motor roars to life, you have verified that the electrical system and motor are fine—the issue is entirely isolated to the mechanical switch. If you lift the switch and hear absolutely nothing, you likely have a dead motor or a tripped electrical circuit.
The Risk of a Stuck-On Pump
Equally dangerous is a switch that gets stuck in the “up” position. If the float rises, the pump empties the pit, but the switch fails to drop back down, the motor will continue to run dry. Running a sump pump without water for even a short period causes the internal bearings to overheat, permanently burning out the motor. Whether it is stuck down or stuck up, if the switch is mechanically broken, the pump cannot defend the home against water intrusion in York SC crawlspaces.
Inspecting the Sump Pit and Discharge Lines
A working float switch is completely useless if the surrounding environment prevents the pump from moving water. Expanding your maintenance check to include a holistic overview of the system’s readiness ensures that once the pump turns on, the water actually has somewhere to go. The transition between September storms and late summer dry spells brings high winds that blow debris around your property, creating new clogging hazards.
Clearing the Pit
Over the summer, the dry pit often collects debris. Dirt clumps fall from the crawlspace walls, small rocks tumble in, and sometimes small pests leave remnants behind. Guide yourself to safely remove visible rocks, dirt, or debris from the bottom of the dry pit before you perform the bucket test. If this debris gets sucked into the pump’s intake screen, it will choke the impeller. The motor will run, but no water will move, eventually leading to a burnout.
Examining the Exterior Exit
The second half of your defense system is located outside the home. Advise yourself to check the exterior discharge pipe where the water exits your yard. Ensure the pipe isn’t blocked by yard debris, crushed by a lawnmower, or clogged with mud. Ensuring water can flow freely away from the foundation is just as critical as getting it out of the pit. If the water cannot exit the pipe, it will back up into the crawlspace. If you notice persistent drainage issues around your property’s exterior, exploring drain cleaning in York can help ensure the water your pump expels actually drains away from your foundation.
When to Step Back and Call a Licensed Plumber
While testing and observing your system is safe for any homeowner, repairs are a different matter entirely. Establishing strict boundaries between safe homeowner testing and professional electrical or mechanical repair keeps you safe. Replacing a float switch involves working with live electricity in a wet environment. This should never be treated as a weekend DIY project.
Signs You Need a Professional
You should immediately stop testing and call a professional if you encounter any of the following warning signs in your York SC crawlspaces:
- A humming motor that won’t pump: This indicates a jammed impeller or a failed check valve.
- A completely seized switch: If gentle pressure does not free the float, the mechanism requires professional replacement.
- Frayed or brittle wiring: Exposed wires near sitting water are a severe shock hazard.
- Frequent short-cycling: If the pump turns on and off rapidly every few seconds, the switch height is calibrated incorrectly.
The Value of Professional Calibration
A licensed professional does more than just swap out a part. They can properly recalibrate the switch height to match the specific inflow rate of your pit. They ensure that all electrical connections are perfectly watertight and that the check valve is holding back the water in the discharge pipe. Position calling a professional for pipe repair services or pump maintenance as the final, responsible step in proactive home maintenance.
Securing Peace of Mind Before the Rain Falls
Understanding the mechanical reasons behind float switch failures gives you the upper hand in home maintenance. September storms and late summer dry spells create the perfect storm for mechanical seizing, but you do not have to be caught off guard. A simple 10-minute bucket test is the best defense against unexpected flooding. September storms are unpredictable, and testing now ensures your system is ready to react the moment the water level rises. If you feel uncertain about your system’s reliability, or if your test revealed a sticking switch, we encourage you to explore comprehensive, professional sump pump maintenance options to secure your peace of mind before the heavy rains arrive.
Frequently Asked Questions
How do you test a sump pump float switch?
The safest way to test your float switch is by using the bucket method. Slowly pour five gallons of clean water directly into the sump pit to mimic rising groundwater. Watch to ensure the float rises smoothly, listen for the pump motor to engage, and verify that the pump shuts itself off once the water is drained.
Why is my sump pump float switch sticking?
Float switches typically stick due to mineral scale buildup or physical obstructions. When a sump pit dries out over the summer, evaporating water leaves behind calcium deposits that crystallize on the moving parts of the switch. This creates heavy friction that prevents the float from sliding or pivoting freely when the water returns.
Can you manually bypass a sump pump float switch?
While it is technically possible to bypass a switch for emergency drainage, it is highly dangerous and not recommended for homeowners. Bypassing the switch requires hardwiring the pump to run continuously, which means it will not shut off when the pit is empty. This will quickly cause the motor to overheat and burn out, destroying the pump entirely.
How often should you test your sump pump?
You should test your sump pump at least three to four times a year, specifically before major weather transitions. Testing at the end of a dry summer before autumn storms arrive is critical to ensure the mechanical parts haven’t seized. A quick bucket test takes only a few minutes and verifies the system is ready for heavy rain.
What is the difference between a tethered and vertical float switch?
A tethered switch operates on a flexible cord and activates by floating upward and tilting at an angle. A vertical switch consists of a buoyant cylinder that slides straight up and down on a rigid fixed rod. Tethered switches require a wider sump pit so they don’t get pinned against the wall, while vertical switches save space but are more susceptible to mineral scale friction.
How do mineral deposits affect sump pump performance?
Mineral deposits create hard, crusty scale that acts like sandpaper on the moving parts of your pump system. This scale can lock the float switch in place, preventing the pump from turning on, or wedge it in the “up” position, causing the motor to run dry. Heavy mineral buildup can also clog the intake screen, reducing the volume of water the pump can move.